Users and teams
Create users, group them into teams, and use teams as notification recipients.
Where this page ends: an account that can log in, can receive alerts, and belongs to a team — teams being the handle every later authorization step reaches for, since business groups recognise teams and not individual users.
1. Create a user
Organization → Users, then Add at the top right.
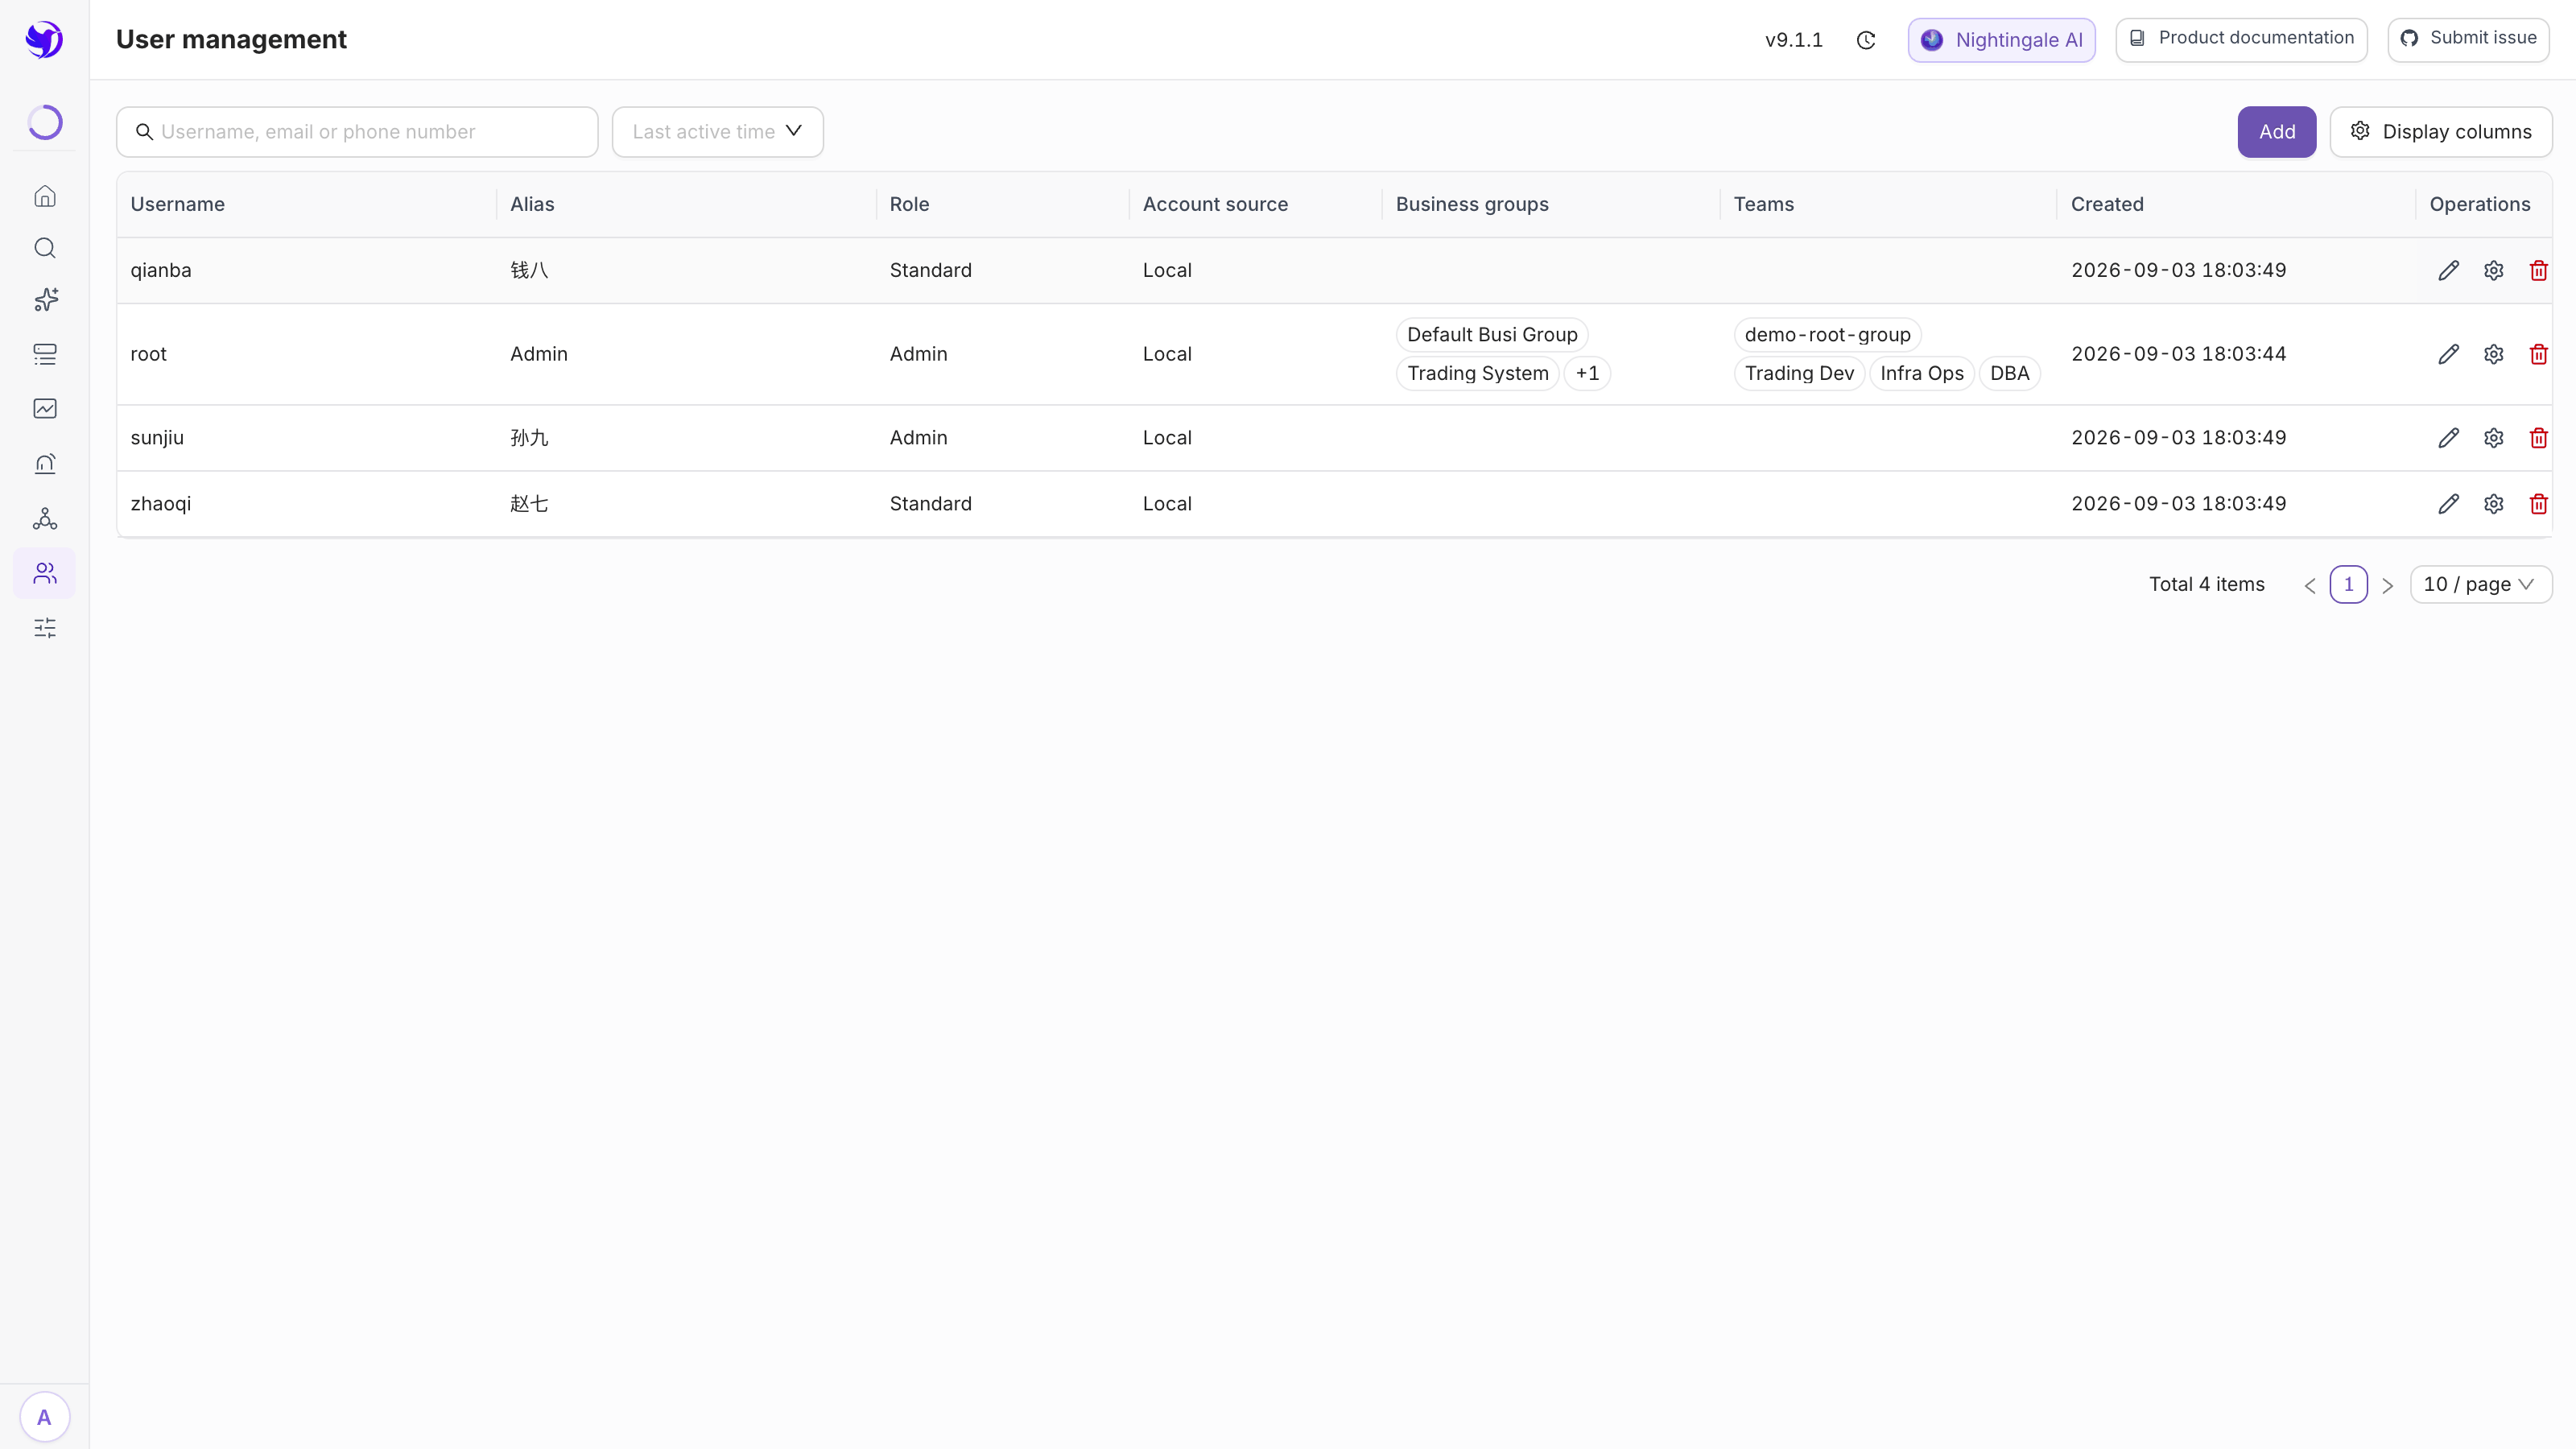
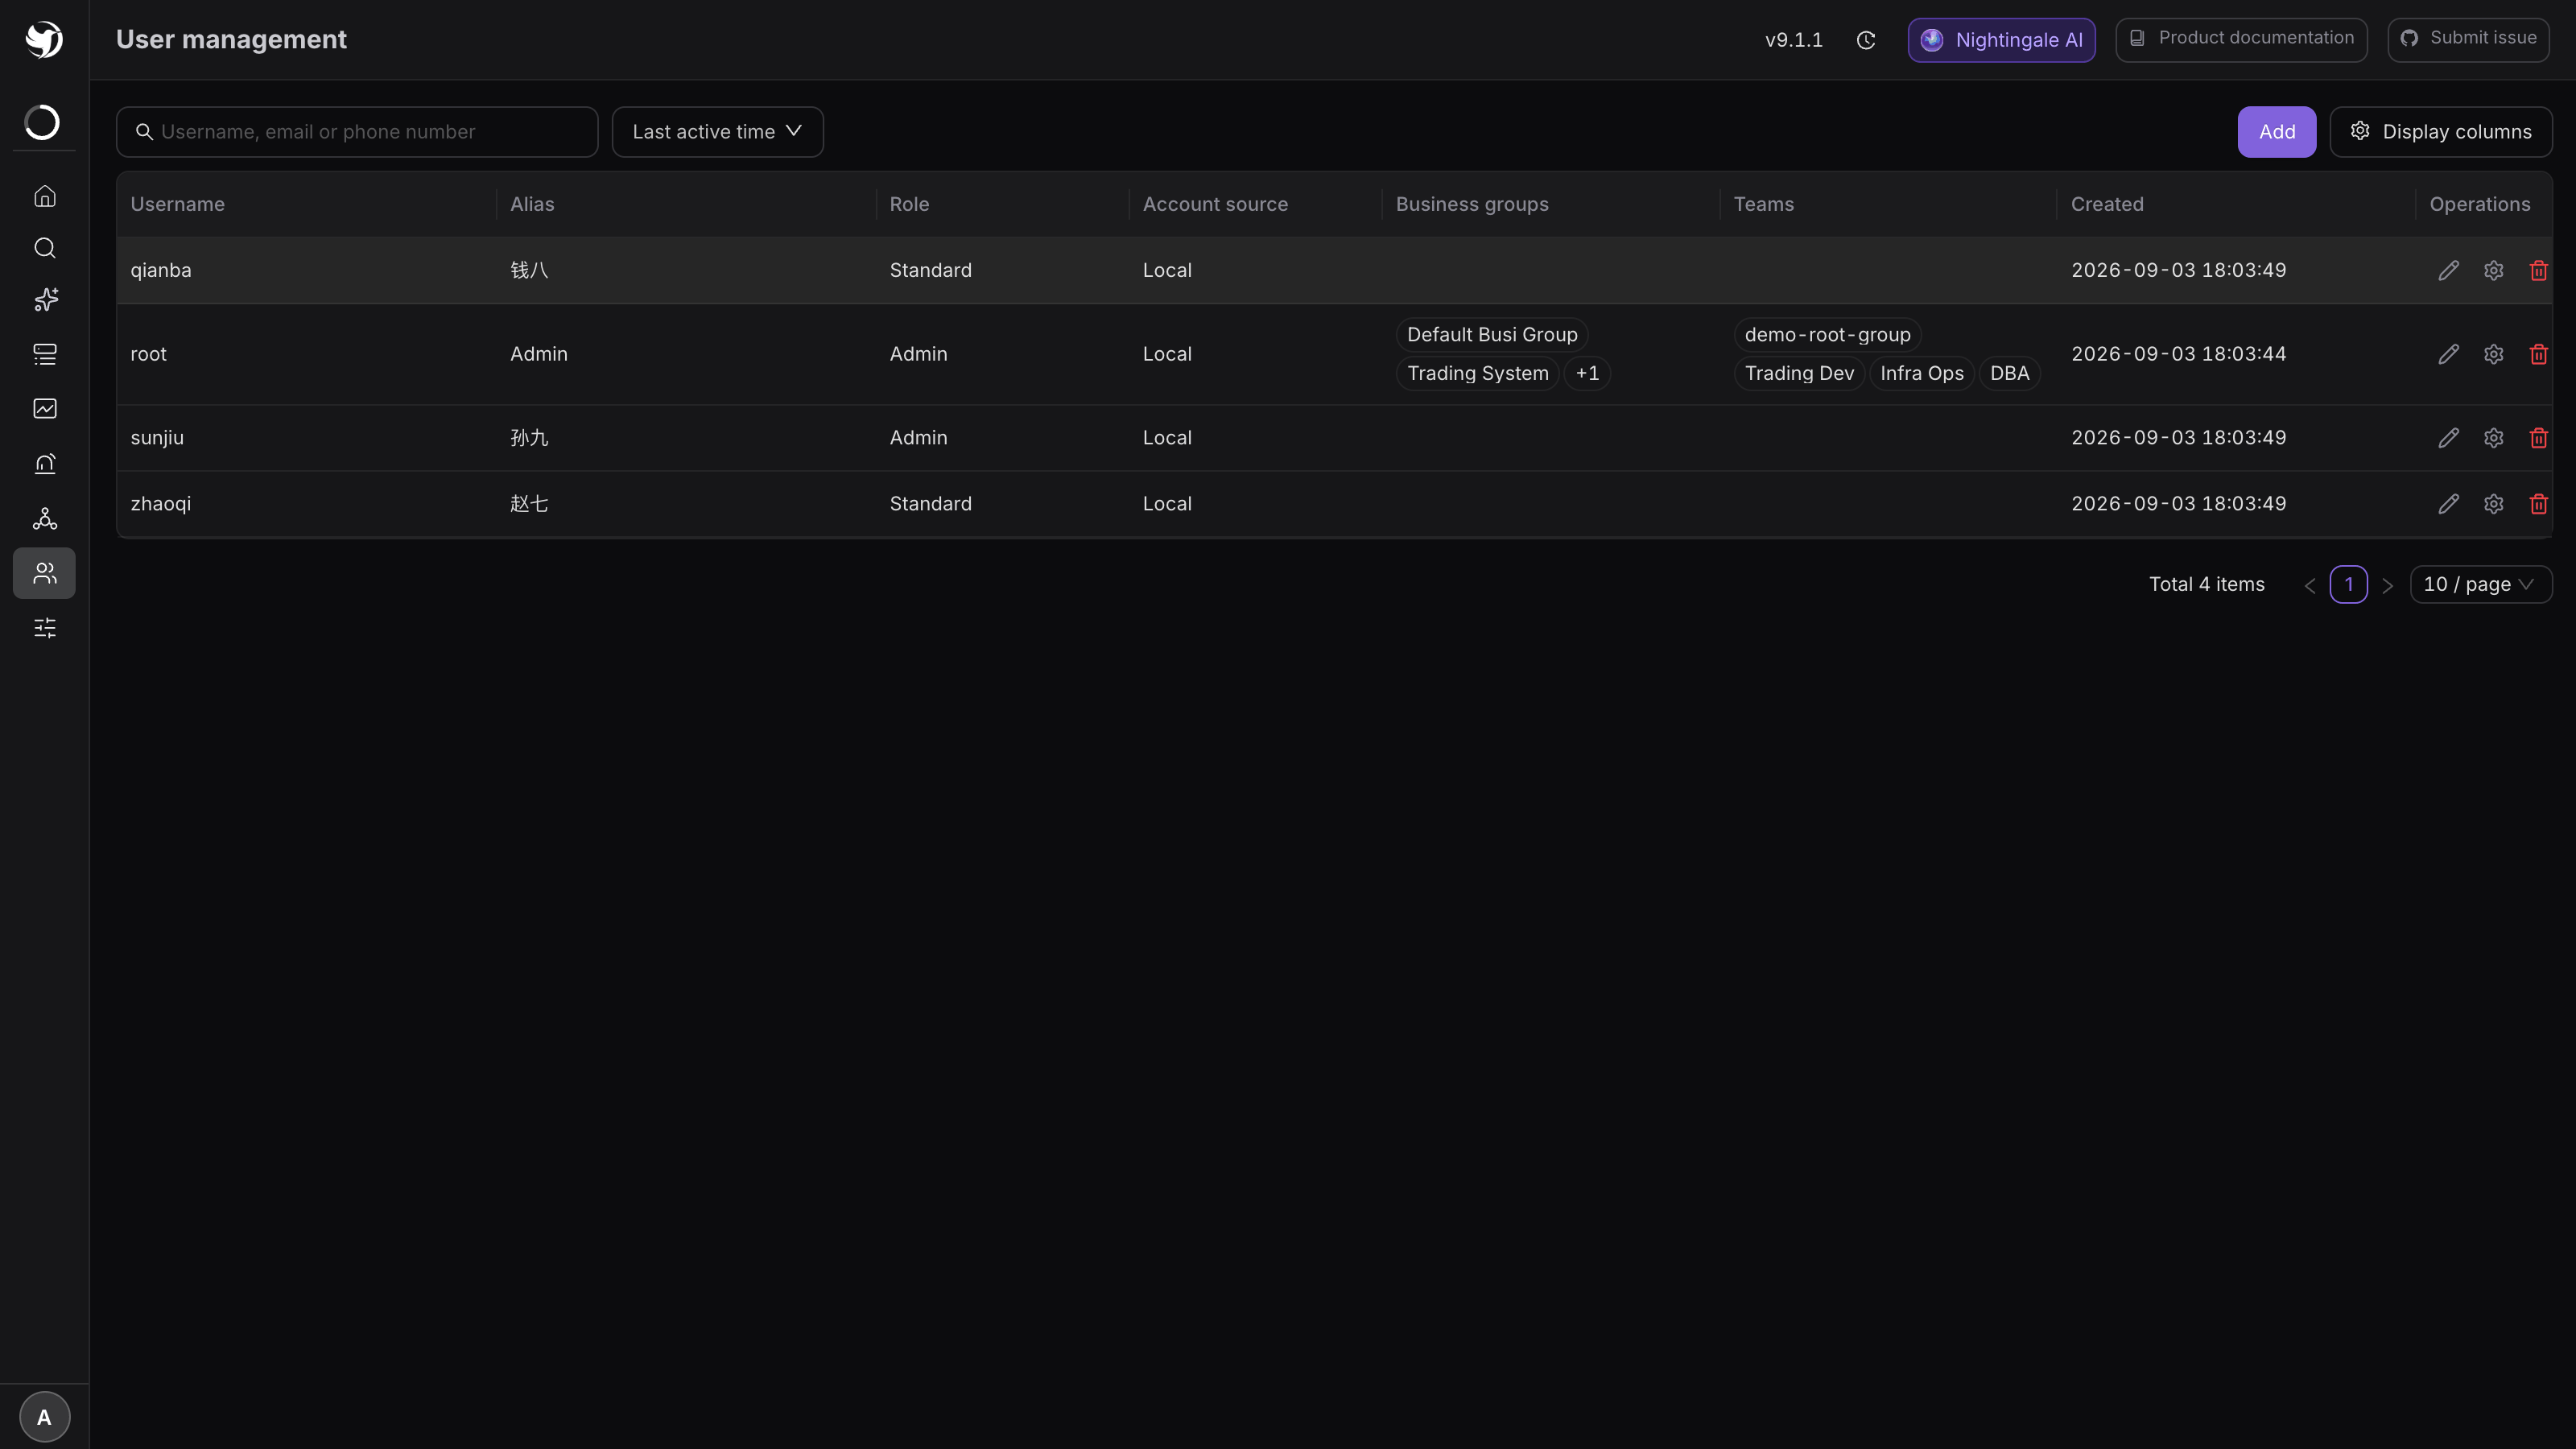
Top to bottom in the form:
| Field | Notes |
|---|---|
| Username | The login name, required. Fixed once created — the edit form has no such field |
| Display name | The name shown in notification text and in lists |
| Password / Confirm | Required. Also new-user only; changing it later goes through the gear icon in the list |
| Roles | Required, multi-select. Decides which pages this person can reach — see Roles and permission matrix |
| Email / Phone | See the next section; these decide whether alerts can actually reach the person |
| Contact details | A key/value list, one key per notification medium's delivery address |
Expected result: a new row in the list, with Source showing "Local". Accounts created automatically by SSO show their identity provider in that column, so you can tell at a glance which accounts are yours to manage and which belong to the IdP.
The three icons at the end of each row are, in order: edit, reset password, delete. Reset password sets a new password directly as the administrator; it does not send the user a reset link.
2. Contact details decide where alerts land
Once a notification rule has worked out who to notify, it still has to resolve a concrete address on that person. If it cannot, the notification is skipped silently — no error, no retry. So "why did so-and-so not get the alert" starts here:
| Filled in where | Media it affects |
|---|---|
| Phone | SMS, voice |
| The keys under Contact details | Personal addresses for DingTalk, Feishu, WeCom, Telegram and other IM media |
The keys under Contact details come from a dropdown backed by the system's defined contact list —
they are not free-form strings. An Admin sees a link next to Contact in this form for
maintaining that list; on a new v9 install the list starts empty. How to define entries, and how a
media type picks one, is in Contact methods.
3. Create a team and add people to it
Organization → Teams, then the + next to the Team list heading on the left. A team needs only a name and a note.
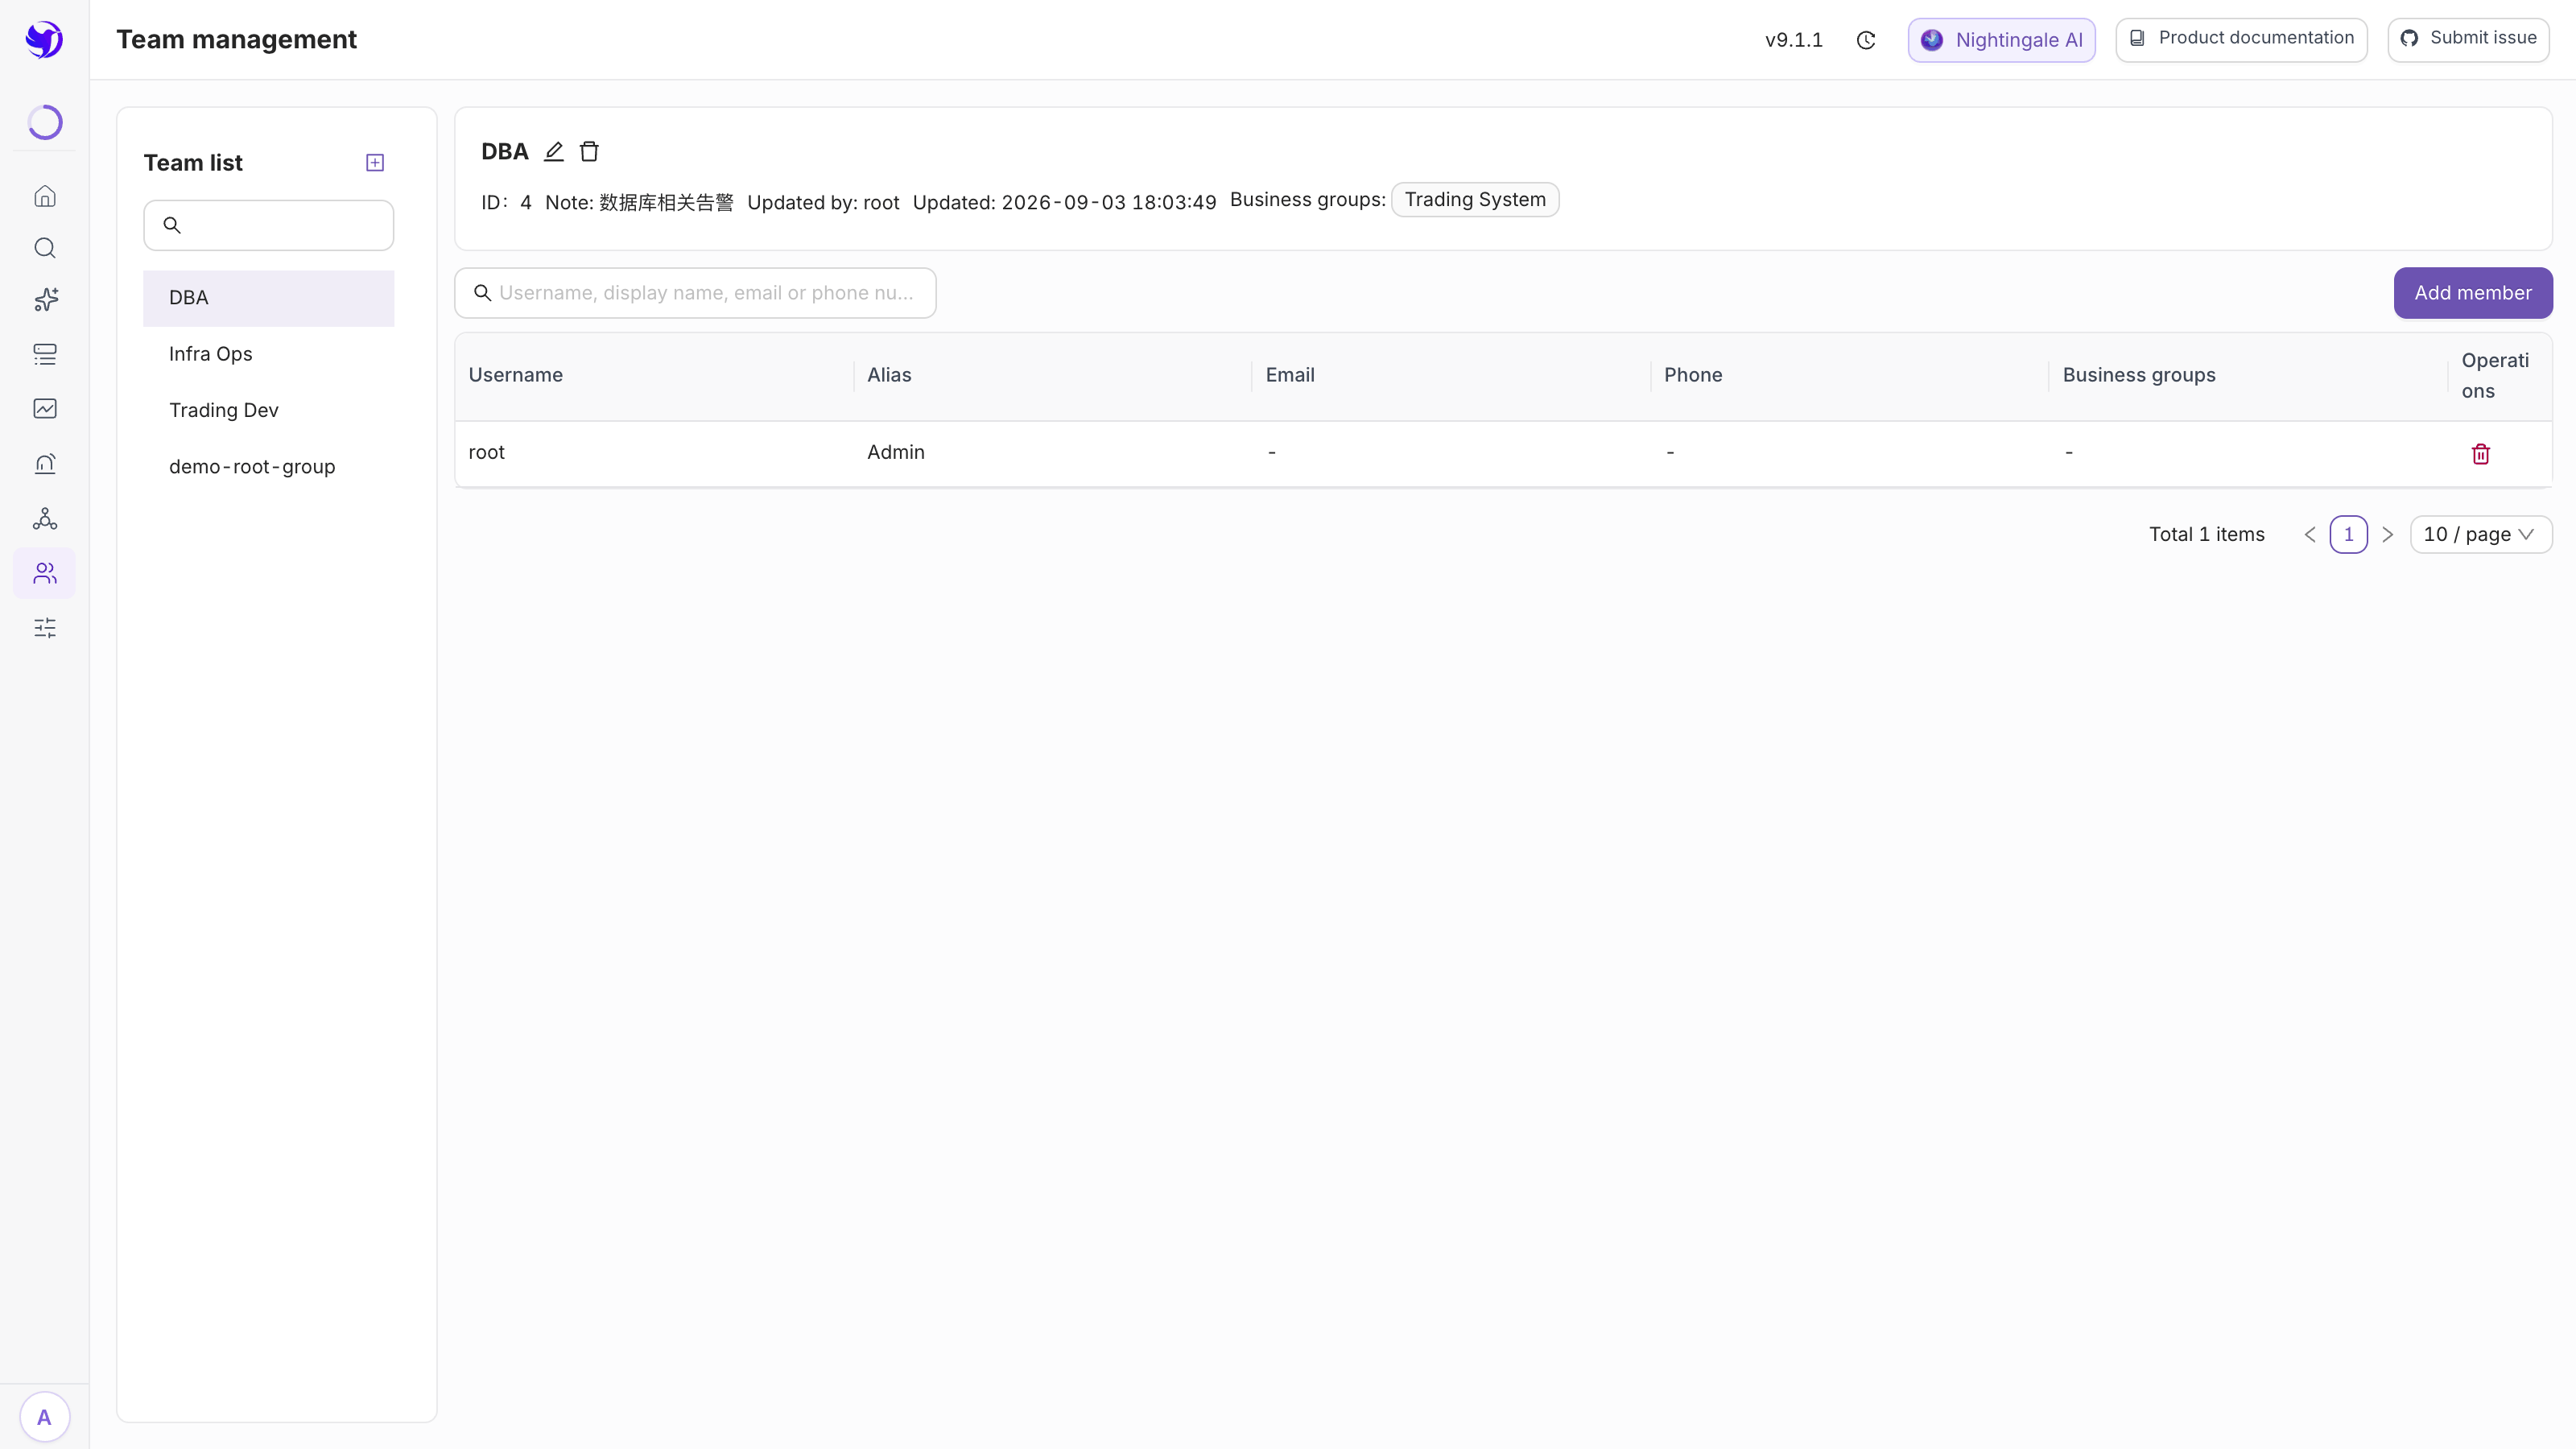
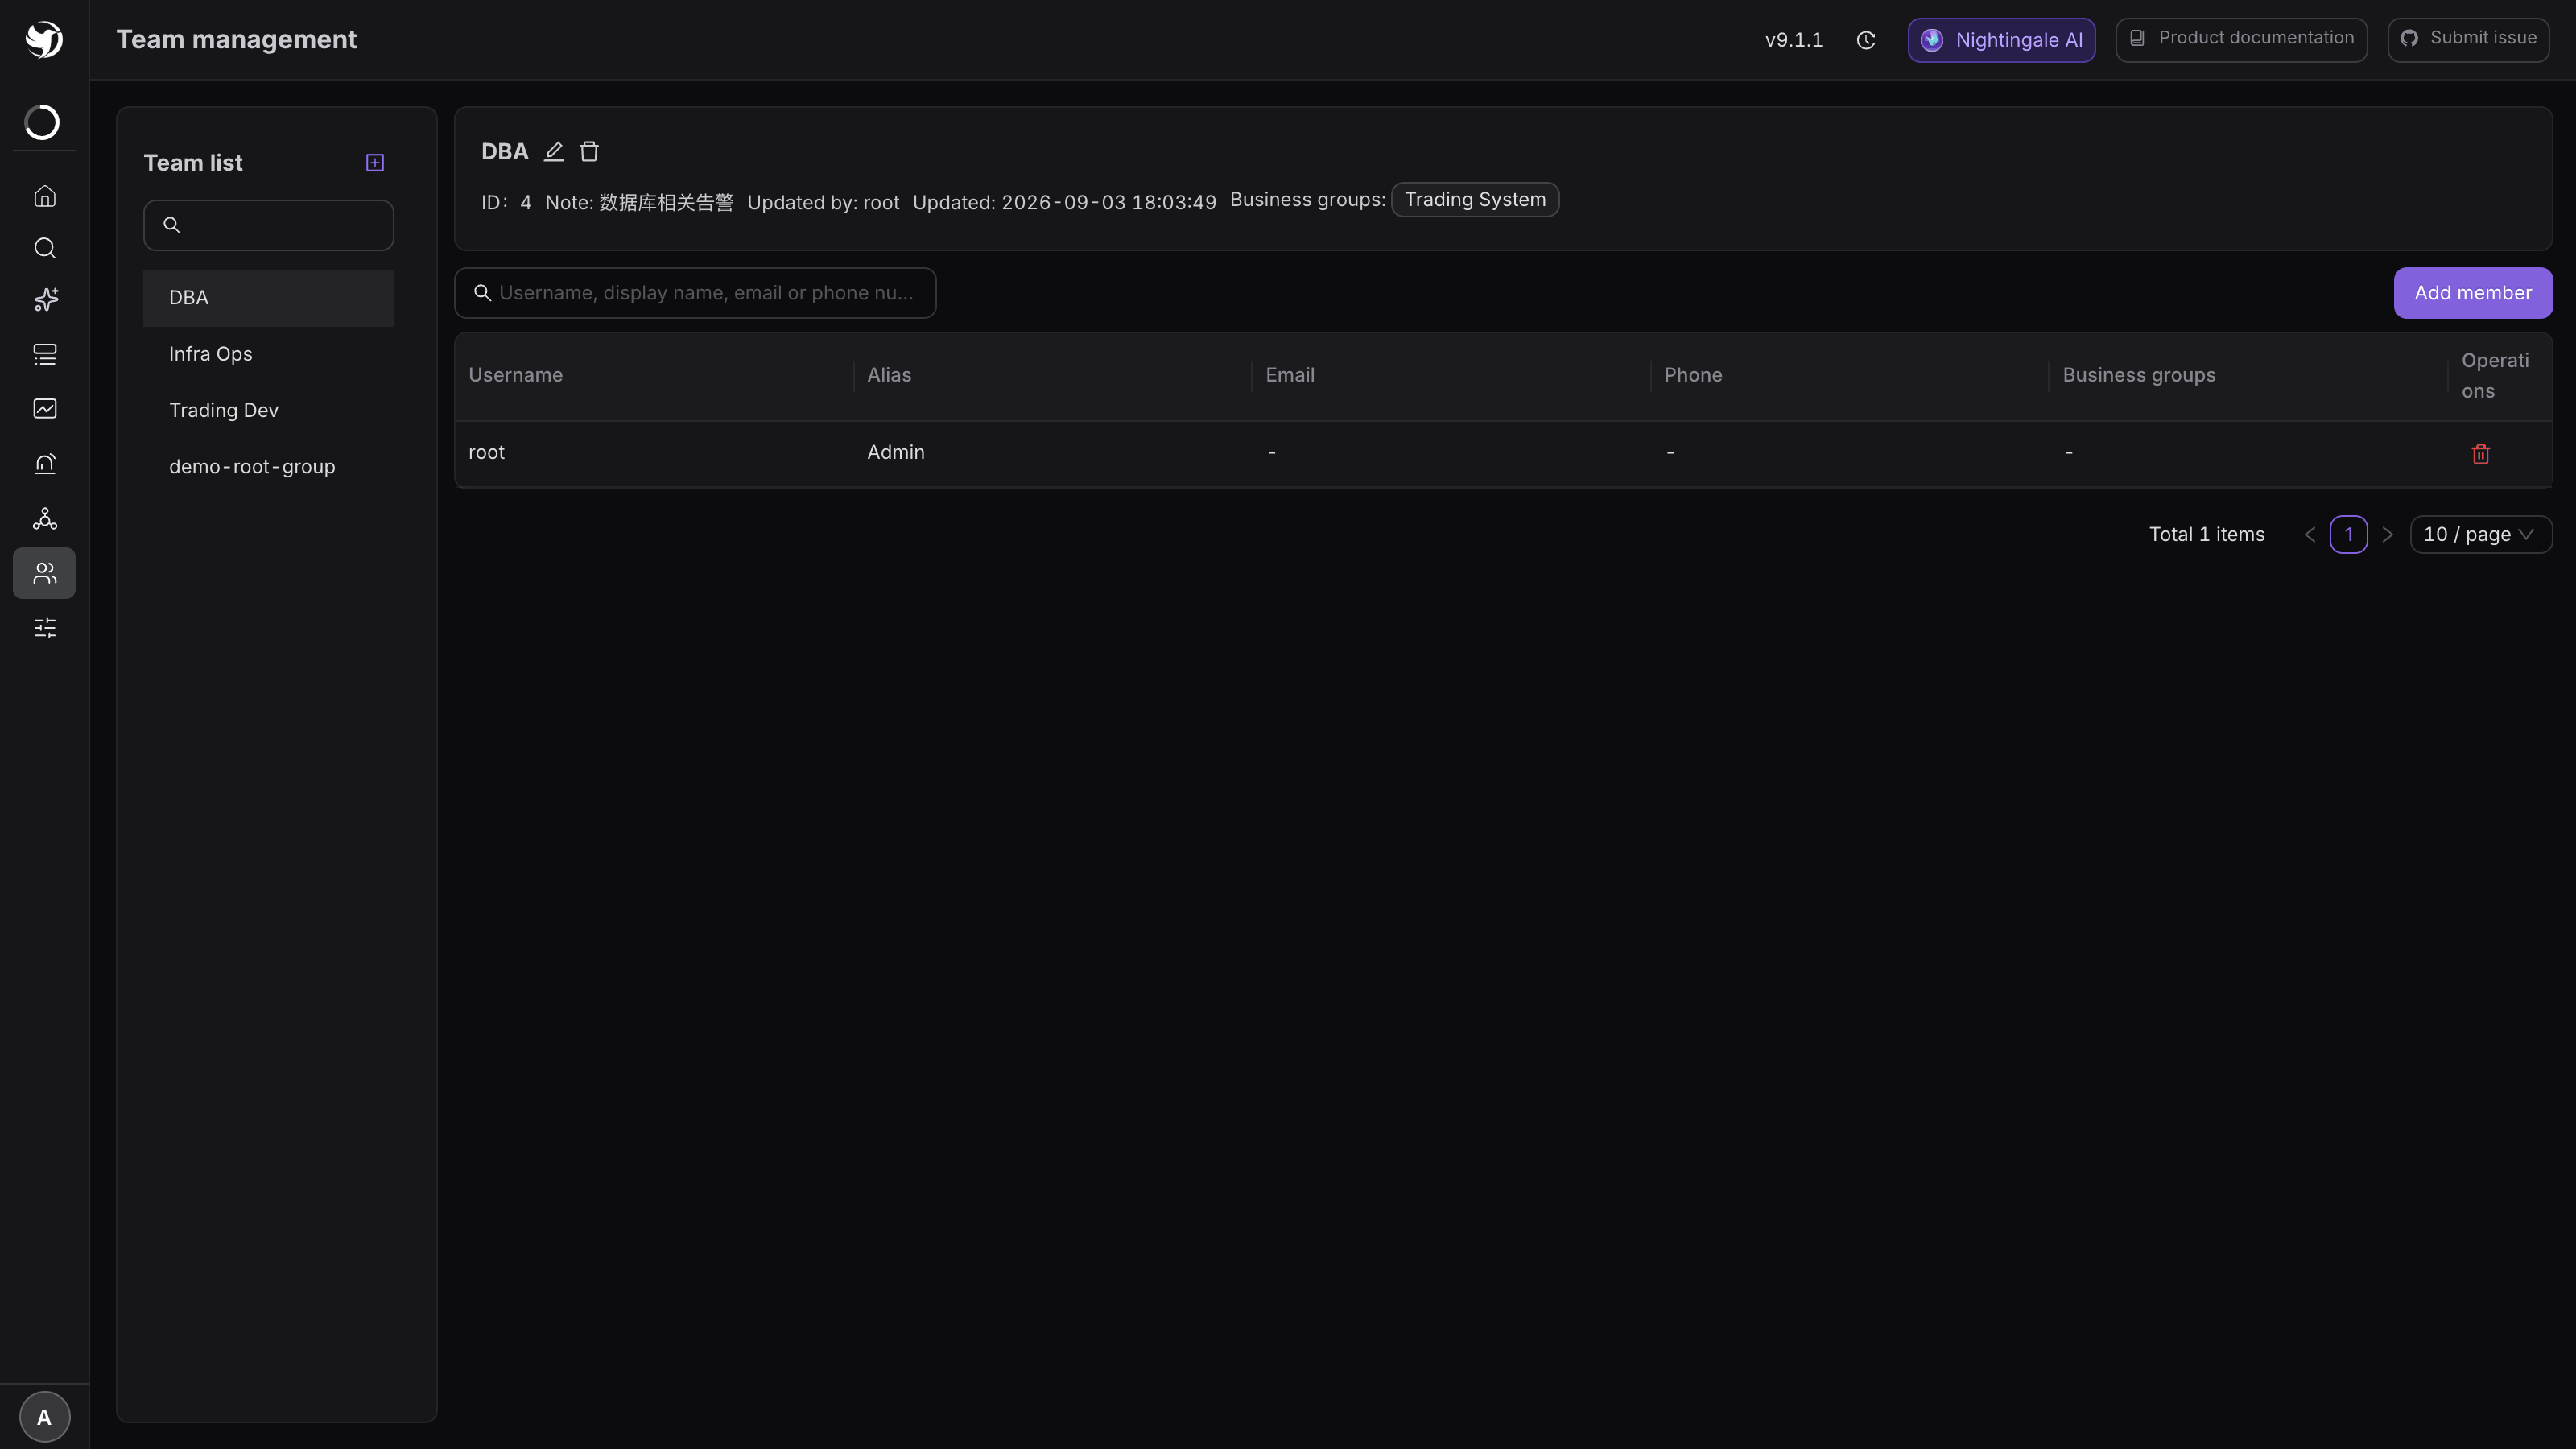
Select it on the left and use Add members at the top right to pick users. The header row on the right shows the team's ID, note, last editor, and which business groups it is authorized on — this is where you look up authorization from the team's side.
Expected result: the people you added appear in the members table; back on the user page, their Teams column now includes this team.
A team is also selectable directly as a recipient team in a notification rule: picking the team means picking whoever is in it at the time, so staff changes never require editing the rule. Do not confuse it with authorized teams in the same form — that field controls who may see and edit the rule, not who receives it.
4. Why a new account still sees nothing
This is the single most common confusion. A new user, even with the Standard role, sees no alert
rules, no dashboards and no hosts, because permissions come in two layers:
role  ->  which pages you can reach
team  ->  business group authorization  ->  which data you can act on
Layer two is not connected yet. To finish it:
- Add the user to a team (step 3 on this page).
- Authorize that team on a business group, choosing read-write or read-only — see Business group authorization.
Only the Admin role skips layer two. The full model is in
Authentication, tokens and RBAC model.
5. Transfers and departures
- Transfer: change the team, not the user. Remove them from the old team and add them to the new one; authorization follows automatically.
- Departure: remove them from every team, then delete the user, and clear out any tokens in their name at the same time — see Tokens and credential rotation.
- SSO accounts: do not delete these by hand in Nightingale. Let the identity provider control the lifecycle, or the next login will simply recreate the account.
To find out who is still using the system, sort the user list by Last active at the top right; long-idle accounts are the first candidates for cleanup.
Next
- Give teams data permissions: Business group authorization
- Decide which pages those people can reach: Roles and permission matrix
- Let the corporate identity provider create accounts: SSO / external identity integration